
 Google Play
Copper is the most thankless metal in restoration. It always looks dirty, you always want to scrub it, and scrubbing almost always makes it worse. That green film you are about to remove is probably the reason the coin survived long enough to meet your spade.
So the first question is not what to clean it with, but whether to clean it at all. If you don't have an answer, read the restoration principles before anything goes into water.
Before any method: three questions
- Is the material actually identified? Colour and shine prove nothing about the alloy, about plating, or about whether you are holding a composite object.
- Is the original surface still there? Photographs, maker's marks, patina, organics, enamel, glass and thin plating or gilding can matter far more than clean metal.
- Is there a stop signal? Wet organics, laminating glass, plating, bimetal, loose active corrosion, an inscription, a dangerous object or a significant context all mean pause and a conservation route.
If you cannot answer even one of these confidently, do not move on to active cleaning, soaking, reagents or electrolysis. Start with the first 24 hours after a find and fill in a condition record.
Patina: friend and impostor
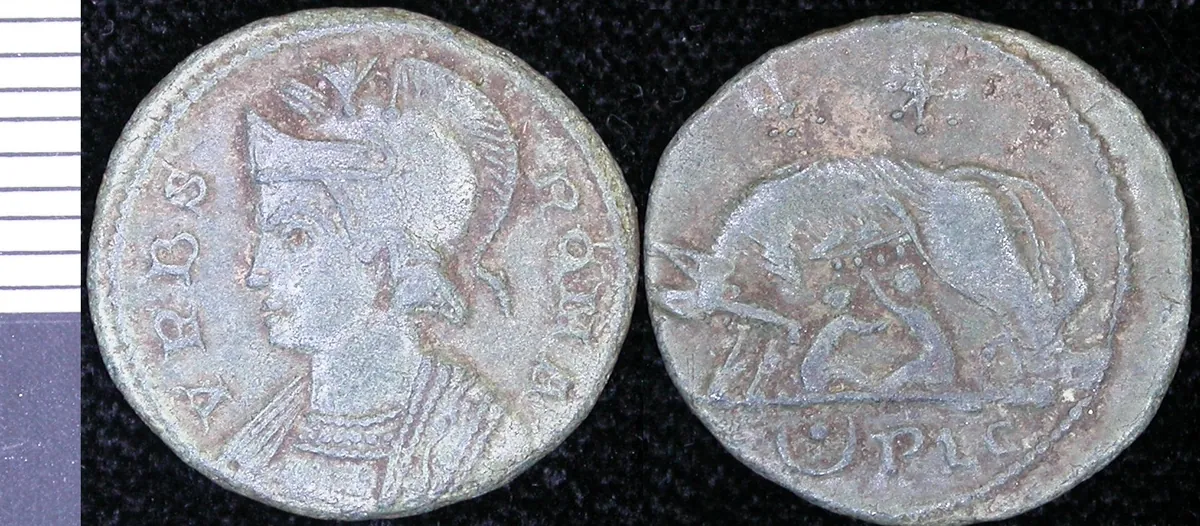
Patina is not dirt. It is a layer of corrosion products that has sealed itself — the reaction reached equilibrium and stopped. Strip it and you expose bare copper to air, and the whole process restarts, this time without the relief.
A different deposit, though, is genuinely dangerous. Telling them apart is easy once you know what to look for.
| Type | Looks like | What to do |
|---|---|---|
| Malachite | Even green or turquoise film | Usually keep it: protective layer, and the coin's age |
| Cuprite | Reddish-brown, dense | Normally left alone; never grind it off |
| Black | Dark, dense deposit | Case by case: lift only the loose areas, gently |
| Bronze disease | Bright green powder that sheds | Treat it. Active chlorides, not decoration |
The short version: even and firmly attached — leave it. Loose, light green and coming off on your fingers — that isn't patina, that's disease.
Soap: boring, slow, effective
The baseline method for a field find is laundry soap. Not out of respect for folk remedies, but because a soapy bath softens soil and loose oxides while leaving the dense patina underneath alone. It has no mechanism to attack it.
- Dissolve 72% laundry soap shavings in warm water until the bath is rich.
- Submerge the object completely. When the water clouds, change it.
- Plan for weeks to months. There is nothing to speed this up with.
- Every few days lift the softened soil with a soft toothbrush underwater, no pressure.
- Rinse in distilled water and dry completely before any consolidation.
A month in a jar of soap looks like doing nothing. That nothing is exactly what saves the coin from a five-minute clean that leaves precisely zero detail behind.
Soap alone is not enough once bronze disease has started — it doesn't cure it. What it does is let you finally see whether you have it.
Green is not a diagnosis
Green products on a copper alloy differ in stability, composition and origin. Not every green surface is bronze disease, and not every case of bronze disease is settled by a single procedure. Before you intervene, record what the surface is actually like: dense or powdery, local or spreading, whether there are whitish salts, cracks, plating, organics or traces of an earlier treatment. If the activity keeps coming back, do not automatically clean harder — move to observation and a conservation assessment.
Bronze disease: spot it, stop it
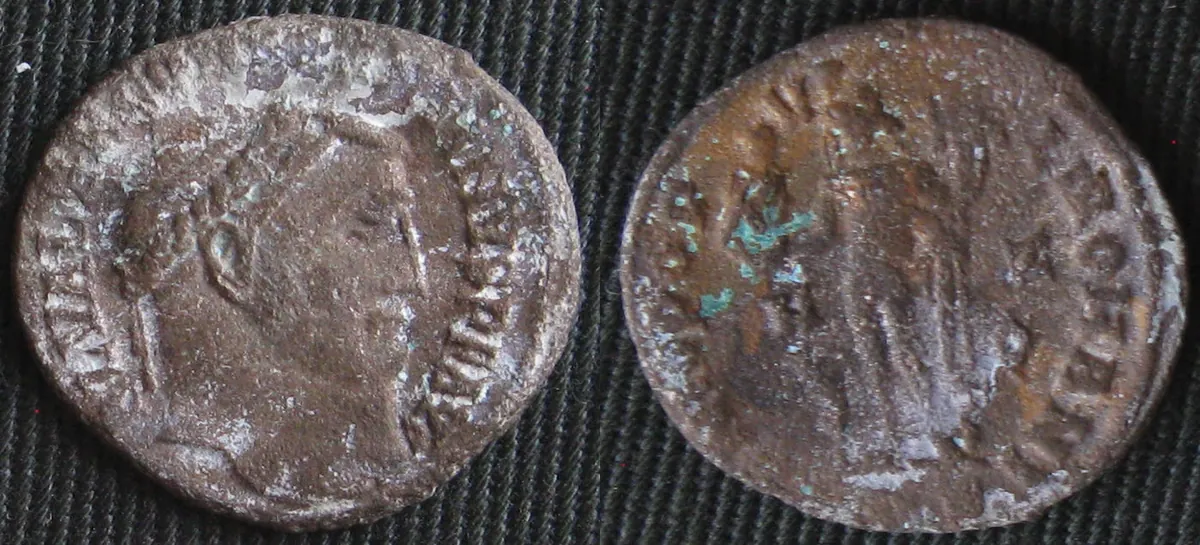
The signs: bright green powder, small pits, and above all spots that keep growing after the piece has dried. These are copper chlorides, and they work in a cycle — the product of one reaction feeds the next. It will not stop on its own.
Chlorides do not come out of the air: they enter the metal from soil and groundwater and stay in its pores after the find is lifted. Why a single rinse does not close the question is set out in water, salts and hydrolysis.
The conservative protocol runs like this:
- Remove the powder mechanically (see below), carefully, without smearing it across the surface.
- Mix roughly a 5% sodium sesquicarbonate solution in distilled water. Baking soda is weaker and often fails on active spots.
- Soak under supervision: rinse periodically, inspect under magnification, refresh the bath.
- When fresh powder has stopped appearing across several inspections in a row, rinse thoroughly with distilled water, dry, and move on to consolidation.
Sesquicarbonate does not stabilise anything for good, and desalination is not a guarantee that comes with the method. It removes the active phase you can see right now; whether that phase is actually over is something only repeat inspections show. The criterion is narrow: no fresh powder at the control inspections, no spot growing, no change in surface texture. Until all three hold, the object counts as active and is stored apart from the rest.
What you should not do is reach for ammonia or acid by eye. Copper treated that way turns into soft pink metal with no design left on it. Concentrations and background are in chemistry and tools.
For archaeological copper the external reference is Canadian Conservation Institute — Care of Metals. It is storage and stabilisation principles rather than a garage recipe, but it marks out the sensible boundaries.
Mechanics: a scalpel, not sandpaper
Mechanical cleaning exists to remove disease and soil, not to carve fresh relief. The difference shows immediately and permanently.
- Work with a scalpel or needle and a soft brush under a loupe, spot by spot rather than across the whole face.
- A fiberglass brush is fine, but only in water or a soapy bath, and never with pressure.
- Sandpaper, abrasive powders "down to metal" and stiff wire have no place here in any form.
Finishing: wax or paraffin
Once the piece is fully dry, the surface has to be closed off from air and moisture, or everything before this was a rehearsal.
Microcrystalline wax such as Renaissance Wax gives a thin, controllable film and suits coins and small objects. Paraffin is cheaper and works perfectly well for field consolidation — the trick is to apply it thinly, with no crust.
Check the piece again a few weeks later. If green powder is back, the activity is not over: record it and photograph it first, then run another supervised sesquicarbonate cycle — not a stronger bath and not a longer soak. Wax over active disease just hides the problem under a layer of wax.
After treatment: what to check
Treatment does not end with the wax, it ends with the first control inspection. Take a control photograph once the piece is dry and set the date of the next look straight away: a week later, then a month, then once a season.
| What to look at | Normal | Signal to stop |
|---|---|---|
| Green areas | Dense, the same extent as on the control photo | A new powdery patch, powder on the padding |
| Surface under the wax | Even, no blisters | Tackiness, clouding, a lifting film |
| Metal | Unchanged | Fresh cracks, pitting, a whitish salt bloom |
| Packaging and environment | Dry and stable | Condensation, a smell, stains on the wadding or in the box |
If a new powdery green patch, a bloom, a crack or a change in the coating appears, do not repeat the procedure "harder" and do not extend the soak. Write the change into the conservation log, compare it with the control photo, check the storage conditions, and go to a specialist if the activity keeps returning. How to run regular inspections and what actually counts as change is covered in conservation monitoring.
Worth writing down
Photograph the find before it goes anywhere near a solution, and run AI restoration in the app: you get a sense of what's under the crust while risking nothing. A diary with before and after photos and the spot pinned on the map will later explain to you why this coin looks like this and its neighbour from the same field doesn't.
In short
- Tell stable patina from bronze disease first.
- Soap and mechanics before any chemistry.
- Active chlorides mean sesquicarbonate, always supervised.
- Dry, then wax or paraffin.
- Rarity or doubt — don't clean until you've asked someone.
- Stability is confirmed by control inspections, not by the fact that a procedure is finished.