Electrolysis is the fastest practical way to lift loose rust from iron finds. It is not a “mirror shine” trick — it is controlled oxide removal followed by rinsing and consolidation. Overview: iron and cast iron. Do-no-harm baseline: restoration principles.
When electrolysis makes sense
| Suitable | Not suitable |
|---|---|
| Iron/cast iron with loose rust and a living core | Copper, bronze, silver, bi-metal |
| Nails, buckles, simple wrought pieces | Objects with organics, wood, leather, textile |
| Personal/study finds after photo documentation | Museum-grade rarities without advice |
If the “core” is sand and rings hollow, electrolysis will not rebuild form. Save “as found” photos and a pin in Discovera first; preview looks via AI cases on pixels, not metal.
Safety (non-negotiable)
- Use a current-limited supply. Not a random laptop brick.
- Plastic tub only; metal tubs risk shorts.
- Gloves, eye protection, ventilation. Do not pour electrolyte/sludge down the sink “like water”.
- Do not leave the bath unattended for long stretches.
- Polarity: find = cathode (−), sacrificial steel = anode (+). Wrong polarity can destroy the object.
Kit list
- ~12 V supply (6–12 V is common; current control beats voltage racing).
- Reliable clips/wiring.
- Electrolyte: washing soda (sodium carbonate) in water — start with a few tablespoons per litre, then adjust as the bath darkens.
- Anode: ordinary steel/iron scrap (not aluminium; do not treat stainless as universal).
- Distilled water for rinses.
- Soft brushes, wooden picks, loupe.
- Silica gel / dry storage and wax/oil for preservation.
Step-by-step protocol
1. Document
Photograph all angles; create the find card in Discovera. Without “before”, you cannot judge loss.
2. Light mechanics first
Remove only loose crust with a soft brush — no angle grinder, no aggressive sandpaper into the core. Goal: contact, not reshaping.
3. Build the bath
- Dissolve soda; mix until even.
- Suspend the find so it cannot touch the anode.
- Place the anode opposite/around; anode area should preferably match or exceed the find.
- Negative to the find, positive to the anode. Verify with a meter if unsure.
4. Run short sessions
- Bubbles on the cathode and darkening solution are normal.
- Change/filter electrolyte when heavily fouled.
- Short sessions + inspection beat “left overnight and forgot”.
- Between sessions: gently lift loosened rust, rinse.
5. Rinse out salts
After the active phase — long distilled-water baths (expert dump: repeated distilled changes / evaporation cycles). Salts in pores = flash rust in weeks. Do not blast-dry and store damp.
6. Dry and consolidate
Dry fully. Apply a barrier immediately (microcrystalline wax / suitable oil per checklist). Details: preservation. Without this, steps 1–5 are mostly wasted.
Common mistakes
- Electrolysing copper/silver “because it’s faster” — kills patina and alloy surfaces.
- Anode touching the find — local etching/burns.
- Skipping salt rinses — rust rebound in a month.
- Mirror shine as the goal — erases surface history.
- No photos/logging — irreversible decisions without a rollback.
Self-check: restoration checklist. Chemistry context: corrosion chemistry.
Discovera case
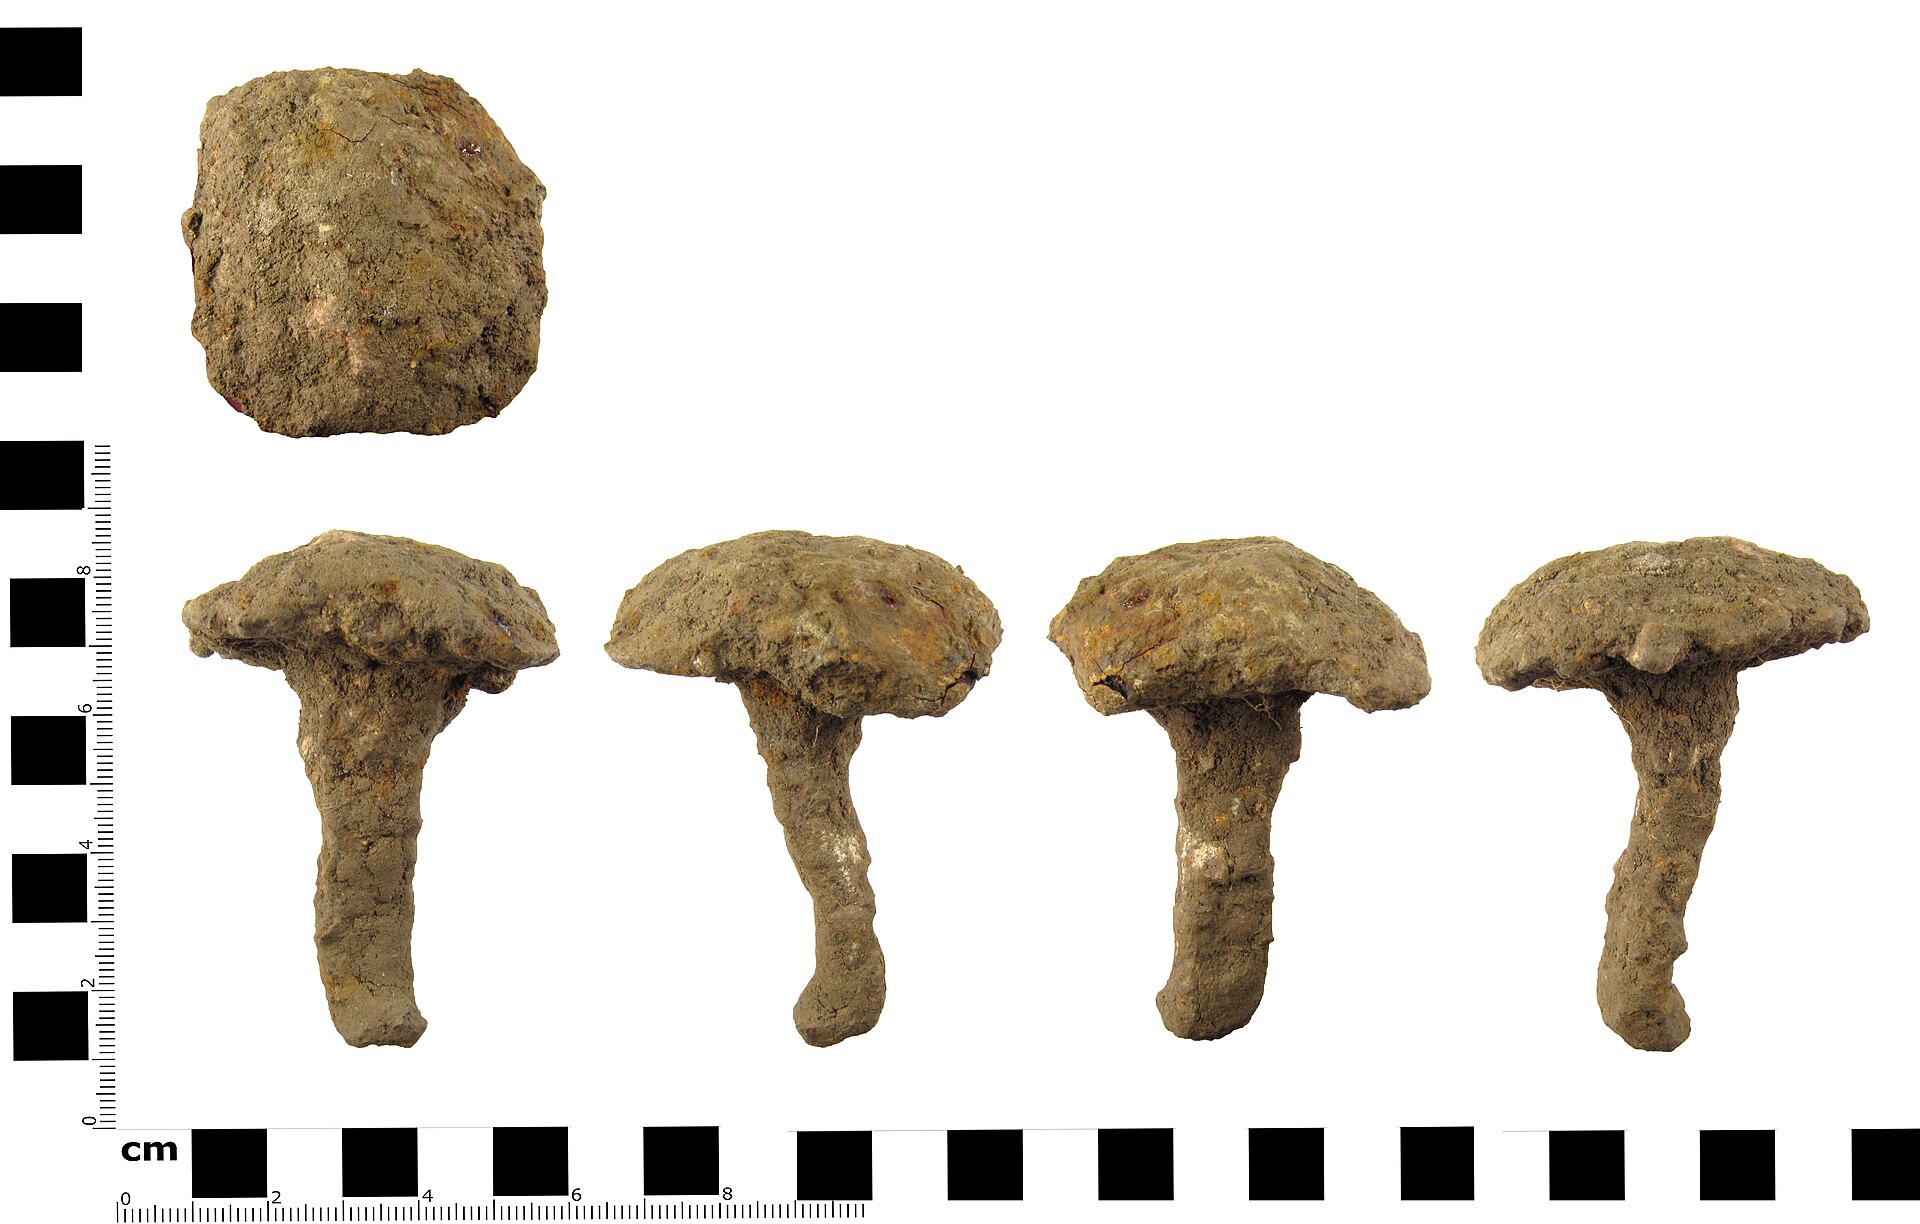
Problem: iron nail/buckle from the field — a rust lump; urge to “get to metal”. Approach:- Find card + “before” photos.
- Short electrolysis sessions per protocol.
- Distilled rinses → dry → wax.
- “After” photos in the same card; if unsure, AI preview before aggression.
Your outing diary stays evidence of careful work — not a soap-bar with no history.
External orientation
For museum-grade protocols, see Canadian Conservation Institute iron notes and similar conservation literature — hobby electrolysis does not replace lab conservation. If the object looks like a weapon or significant artefact, stop and read find procedure and legal status.
For museum-grade metal protocols see Canadian Conservation Institute — Metals. Hobby cleaning does not replace lab conservation.